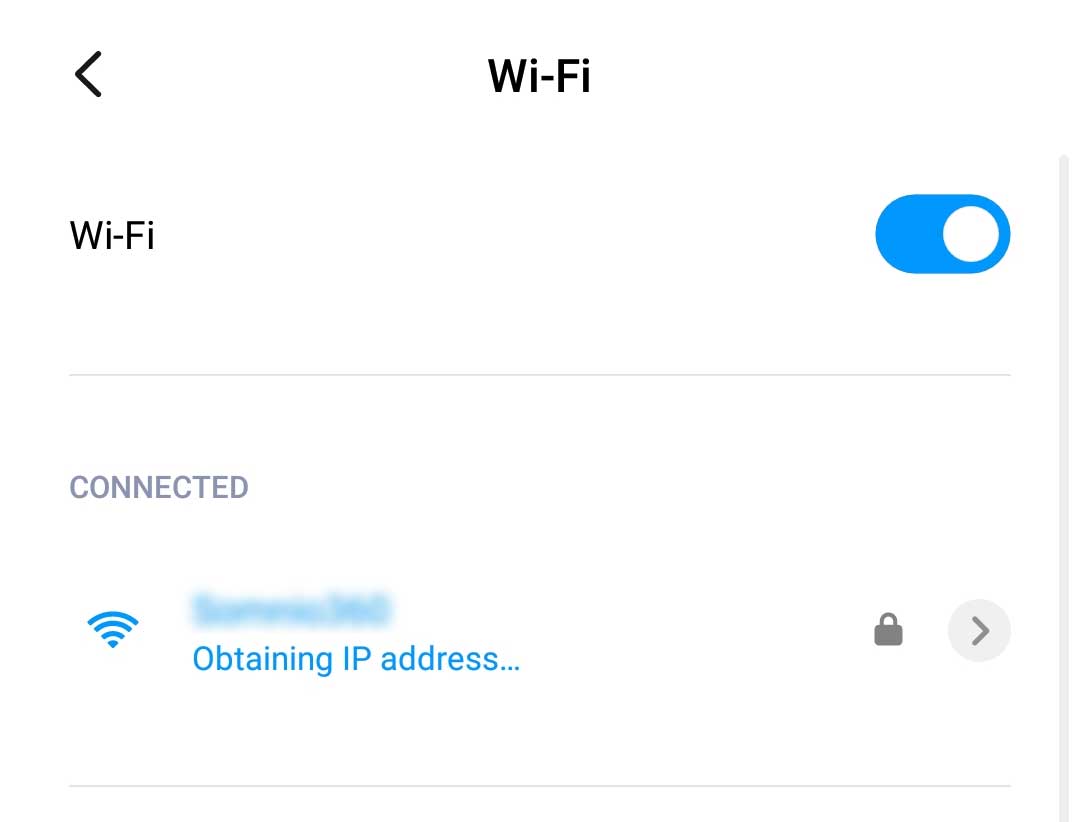
Have you ever encountered the “Failed to obtain IP address” error on Android while connecting to a wifi network? Don’t worry you are not alone on the planet who suffers the problem. The Android will simply stick on the “obtaining IP address” screen forever or will return the error “failed to obtain IP address”. But, why does the error occurs and how to fix the IP address problem on Android? Let’s find the answers. Also, don’t forget to check the alternative method here wifi has not internet access troubleshoot.
Why does my WIFI keep saying obtaining IP address?
Before you jump to the solution to fix the obtaining IP address error on Android. It’s always a better idea to know the reasons behind the error. There are a series of problems that can cause the Android to stuck on “obtaining IP address” screen forever. Here is the list of some possible causes for the error.
- Improper Wifi Configuration
- Router MAC Filter
- No internet access to the router
- Outdates Play services app
- Cache Memory conflict
How to Fix Failed to Obtain IP Address?
To fix the failed to obtain IP address error on Android, you need to apply several methods as there is not a single explanation to the error. Here we shall discuss all the possible solutions to fix the error and connect with wifi successfully.
1. Forget Network and re-connect
If you can access the wifi password, then it’s the best way to start troubleshooting the error on Android by removing the existing wifi network from mobile and re-connect by selecting the wifi from the list and entering the password.
Here is how you do it
- Go to setting>connectivity>wifi on Android mobile or tablet
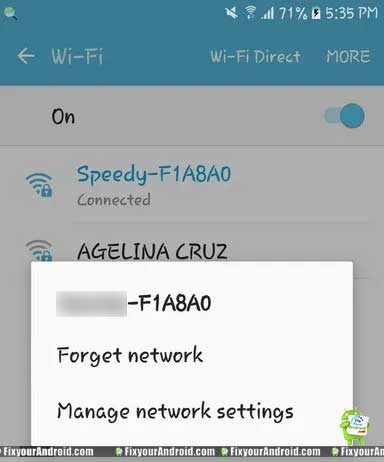
- Tap and Hold on the wifi network name to open a menu
- Here select “forget Network” and tap “confirm”
- Restart the Android and try re-connecting the Android to wifi
2. Rename Android Device
However, this is not the pro method to solve the error. But many users on different forums have reported that renaming the Andriod device solver the IP address error for them.
So, it is suggested to give it a try. Here is how you rename your Android device.
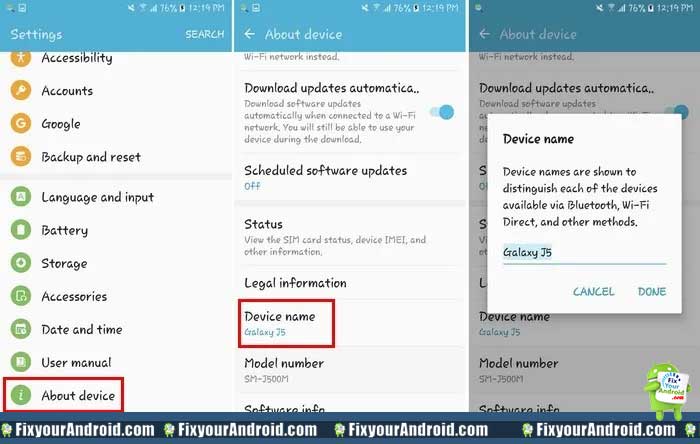
- Open the Settings app on Android phone and tablet
- Find and Select “About phone.”
- Tap on “Device name.”
- Change the name to anything you desire and hit “OK.”
- Try and reconnect to the Wifi.
3. Restart the Router
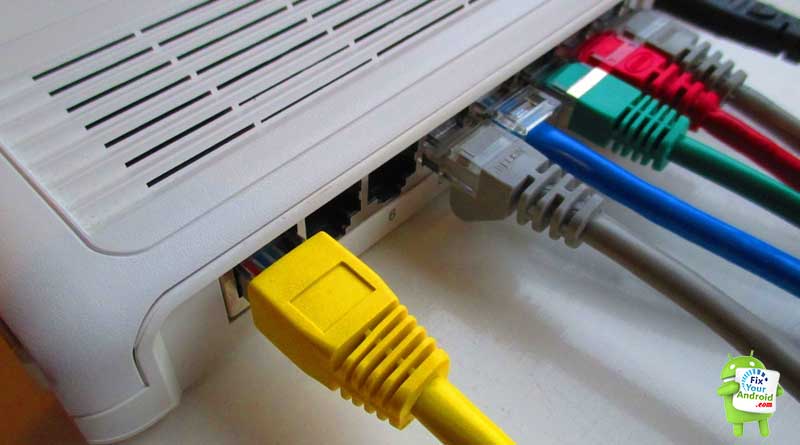
If you are still getting the IP address error while connecting the Android to the internet, it’s time to restart the router and reconnect the Android to wifi if the error is gone. Simply power off your router and turn it on after 30 seconds.
4. Flush DNS
Flushing the DNS using your PC command prompt can also solve the “failed to obtain IP address”. Like Android cache memory, your DNS also has a cache memory. This cache can cause a conflict with router’s wifi configuration.
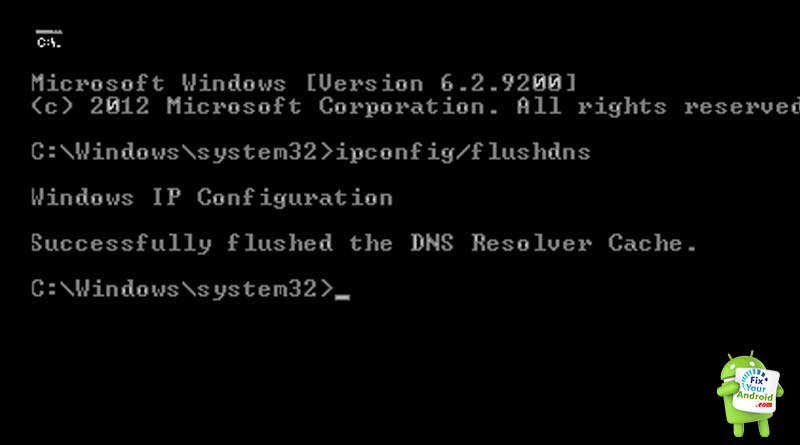
Flushing the DNS can help your router to reset all the connection. Unfortunately, you can’t flush DNS without a PC. Here is how you flush router DNS.
On Windows PC:
- Press start and type “CMD” in the search bar
- Here find the command prompt from the list and open as administrator
- Now type the following lines in the command window and press enter.
ipconfig /flushdns- Now run the command and restart your router.
On MAC PC:
- Open the Terminal
- Applications -> Utilities -> Terminal
- Type “HUP mDNSResponder” and press enter
- Restart the router and try connecting the Andriod to the wifi network
5. Check Router MAC Filter Settings
The “failed to obtain IP address” can also occur if you have accidentally or intentionally blocked the internet access to your Android using MAC filter. In order to access your Router setting page, you need to have the default gateway address.
Using the gateway or local IP address you can log in to the router settings page. By default, the user name and password for the router is “admin”.
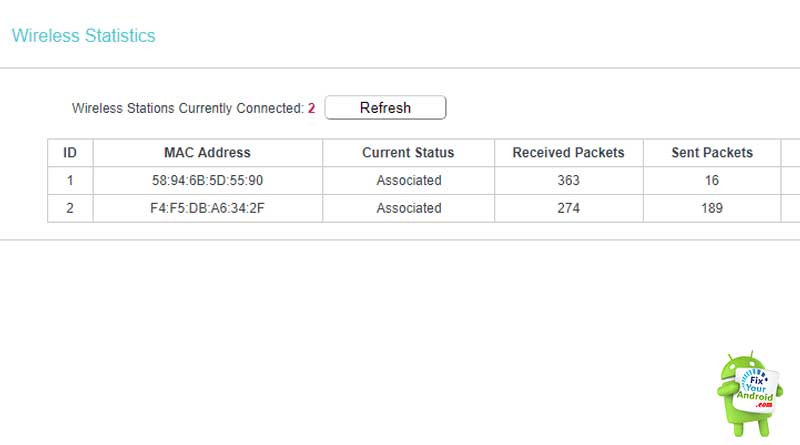
- Find the MAC Address of Android device you are facing a problem with.
- Now login to your router settings page
- Here go to wireless settings and navigate to MAC filter
- Remove the MAC addresses listed here.
- Save and restart the router.
6. Assign Static IP address
- Open the Settings app on Android mobile and tablet.
- Tap on “Network & Internet.”
- Select “Wi-Fi”
- Press and Hold on the network you are getting an error with.
- Tap on “Modify network.”
- Select “Show advanced options.”
- Look for “IP settings” and select “Static”
- In the IP address, change the last number to any number between 1 to 225.
- Restart the device and re-connect.
Obtaining IP address error on Android: Wrapping up
This was a series of solutions to fix the IP address obtaining error on Android. It is recommended to restart the Android after every attempt you make to solve the error. So, which method worked for you? Do let others know in the comment section below. Don’t forget to check our TROUBLESHOOT section for other useful error fix guides for Android.